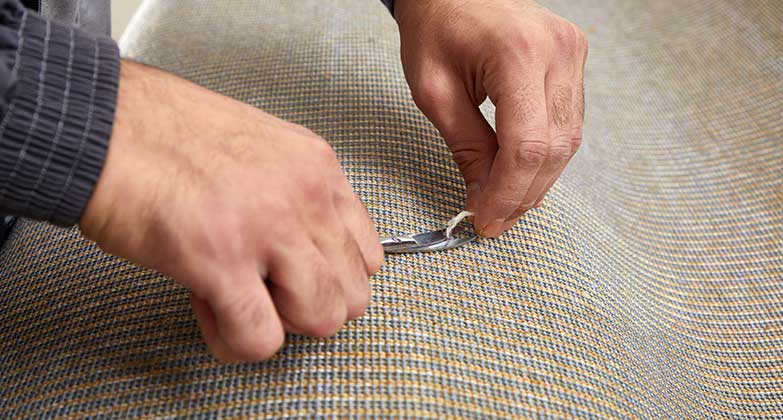
Have you been looking for a quick and affordable way to repair your carpet? Whether it’s damage from your pets or an accidental stain that your landlord just won’t allow a cleaning company to fix (for whatever reasons), the good news is that you can DIY repair your carpet.
And depending on the size of the damage, it shouldn’t take you more than 20 minutes of carpet patching to fix the damage.
DIY Carpet Repair

So, without any further ado, here are the steps involved in carpet repair, in 5 quick simple steps:
- Mark a square or circle around the damage using a screwdriver or a capped pen.
- Use a cushion back cutter or a specialist knife to carefully cut out the marked area.
- Find a donor carpet and use the damaged carpet as a template to cut out a patch from the donor carpet.
- Use double-sided tape and place it under the hole for carpet patching.
- Blend the new patch with the existing carpet by using a comb or natural-bristle brush.
See? Doesn’t that seem easy and uncomplicated? However, you will have to take some extra precautions, otherwise, you might end up losing more of your carpet, and even the donor carpet. So, here’s some more info about the carpet repair steps discussed above.
Walmart sells a carpet repair kit for small pieces of damaged carpet. If you’d rather not tackle this project on your own, our company doesn’t just clean carpets, we also do carpet repairs.
Step 1: Gathering The Supplies
The only tricky part in gathering the supplies is finding a matching piece of carpet. Often, during carpet installation, some remnants are kept aside, just for situations like these – repairs.
However, if you don’t have a matching remnant and you can’t source a piece for carpet patching, all hope’s still not lost. You can cut out a patch from a hidden area that is out of sight; a good area to search for is under the sofas or furniture, inside closets, or at a deserted corner.
Besides, the donor carpet, here’s what else you will need:
- Screwdriver or capped pen
- Specialist knife or cushion back cutter
- Carpet seam tape
- Scissors
- Bristled brush or comb
Step 2: Cutting Out The Damaged Patch
To remove the culprit patch, start by making a small square or a circle around the damaged section. You can use a capped pen; however, a screwdriver works better as it leaves behind no ink.
Now, use a cushion back cutter (or a specialist knife) to carefully cut out the marked area. Leave the carpet pad if it is still in good shape; if not, you can use a utility knife to remove it.
Step 3: Retrieving The Donor Piece
Now, repeat step 2 on your donor carpet. You can use the damaged carpet patch as a template for the donor carpet. While cutting the donor piece, try cutting on the larger side, because it is always easier to trim the excess rather than coming up short for carpet patching.
Step 4: Installing The Donor Patch
Start by cutting four strips of carpet tape, slightly bigger than the edges of the patch hole. Now, peel the backing from the tape and slide them, sticky side up, halfway under each edge.
Now, match the direction of the fibers of the donor piece with the OG carpet, and carefully place the donor patch into the hole. Trim the excess with scissors if necessary. Finally, press firmly around the edges to adhere the piece to the tape.
Step 5: Melding The Seams
You are almost done at this stage, all that’s left is blending the new patch with the old piece. Use the bristled brush or comb to mix and match the fibers of both the carpet pieces, so the gaps at the edges meld perfectly together.
This step removes all indications of carpet repair, and not a single soul will be able to tell the new piece from the old without ripping out the entire carpet.
HGTV has also published an article with some good information titled, “How to Repair and Patch Damaged Carpet.”

Final Thoughts
One way to keep your carpets in tip top shape is to add on a fabric and fiber protection package when you get your carpets professionally cleaned.
DIY Carpet patching works best in a small area, usually less than a square foot of area. Under other circumstances, you should get a quick consultation from a professional, especially if your carpet is still under warranty. It would still be a better option if you encountered the damage in a highly prominent area, such as in the middle of a living room.


